But Wait…There’s More!

Raise your hand if you are ready for the next installment of Project Pergola. To recap, other people besides myself had worked for two weekends prepping and building the pergola. Now we will hear  the tale of the third weekend. 
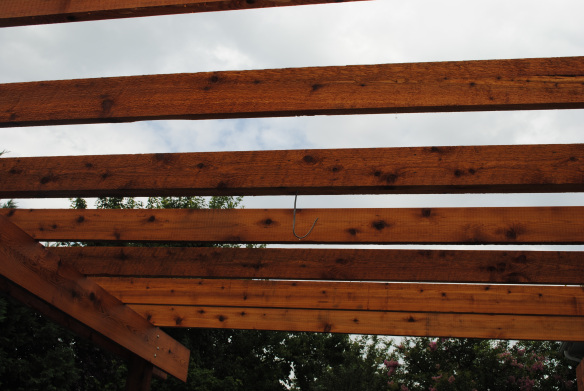
If you have read my previous post you now know that the plan was after erecting the frame and large joists, old shutters would be attached to the top of the structure to add visual interest and more complex shade patterns.

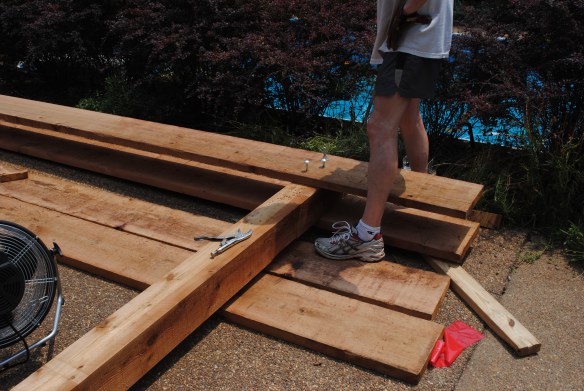
To prepare to attach the shutters, they had to be arranged in such a way that they could be attached to two joists. Here, in the rain, joists are put out at accurate  distances.
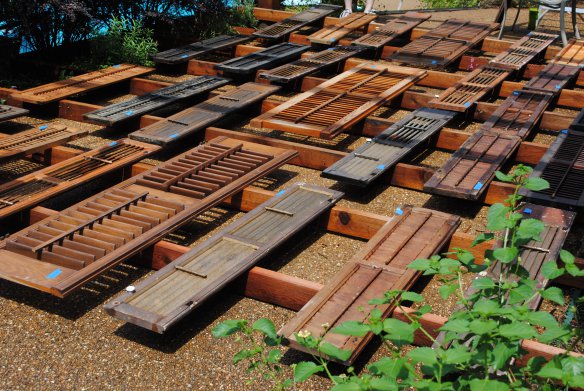
Here are the shutters arranged so that the builders could  see where they would  attach to the joists.( I hope all this makes sense. I can only tell the story the way I understand it. ) The strips of blue tape are from where I had previously numbered the shutters to avoid disagreement and confusion during construction. However, (insert loud throat clearing sound) the aforesaid strategy did not  achieve the goal specified. Some of the numbers were washed off by the rain. We were all walking around with several shutters in our hands, trying not to trip over ourselves or the joists. My husband and I wound up  crouched down at opposite rows of shutters, each trying to rearrange the shutters  from our own end, causing each other to be off by just one shutter,  and making meaningful remarks to one another such as, “But that won’t work!”, “It works fine. Just follow the numbers!” and, “Never mind, just do it the way you want.” Our son wisely stood in a shady corner and said not a word. From the photo you can see that the shutters were eventually arranged.

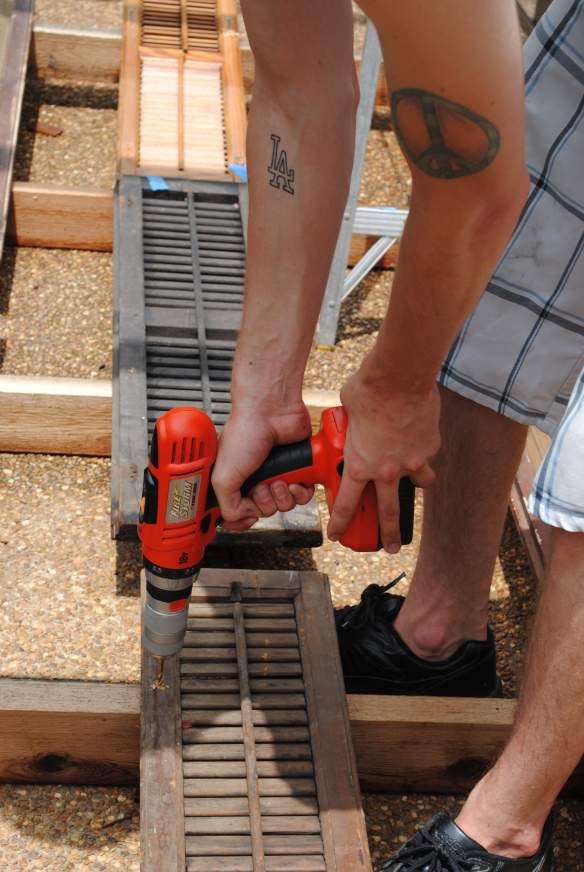
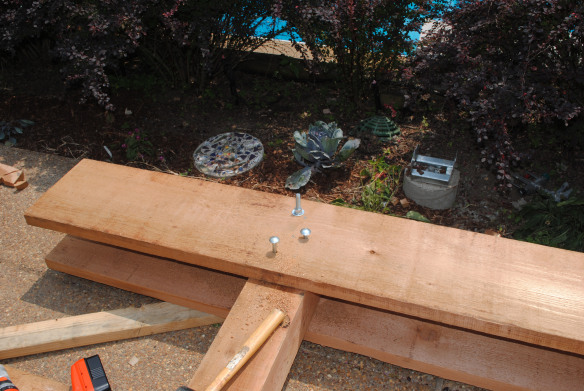
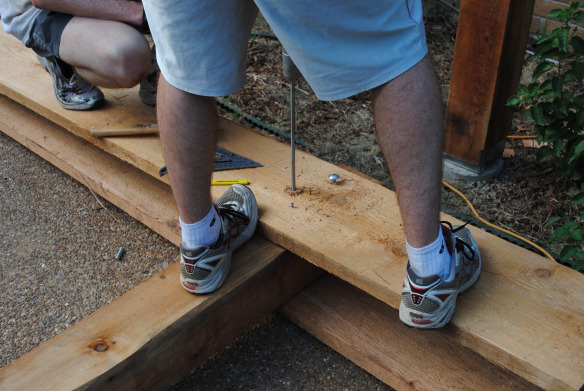
Next the holes were predrilled.
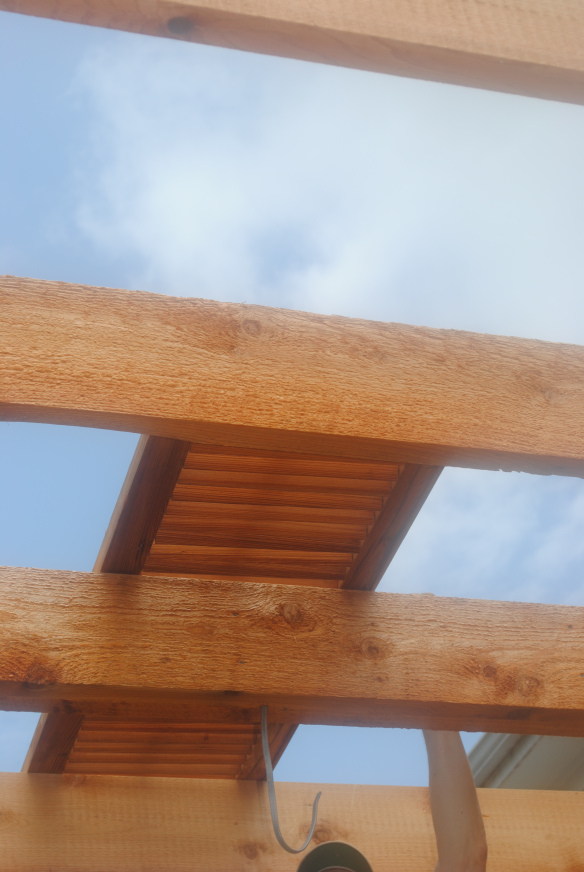
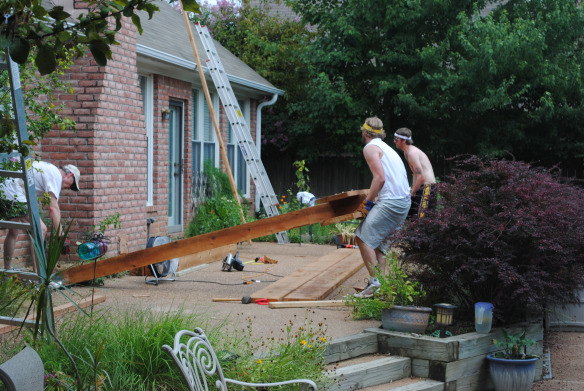
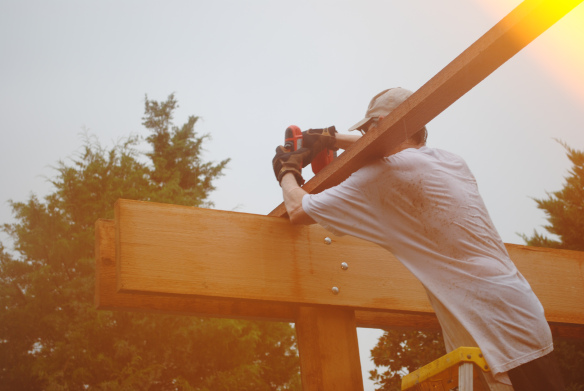
And a shutter goes up!

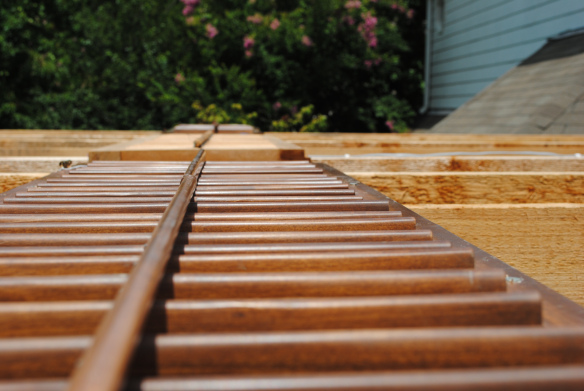
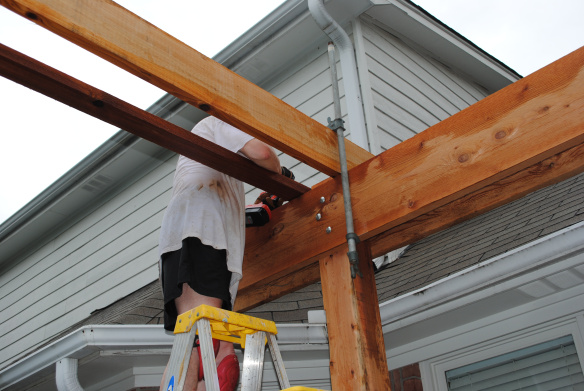
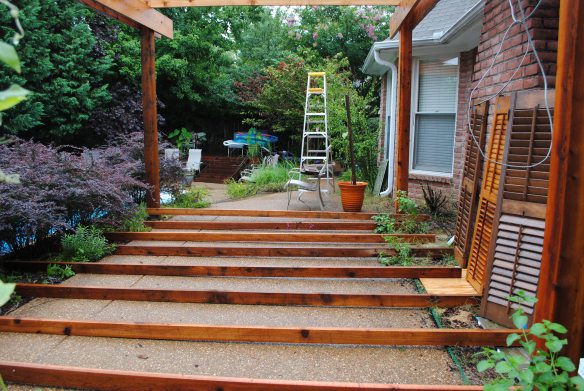
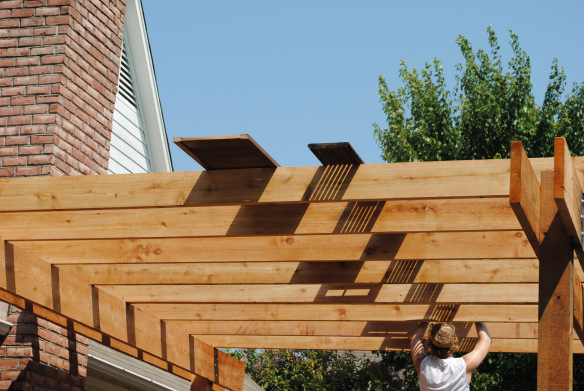
Here is view from the top of the ladder. 
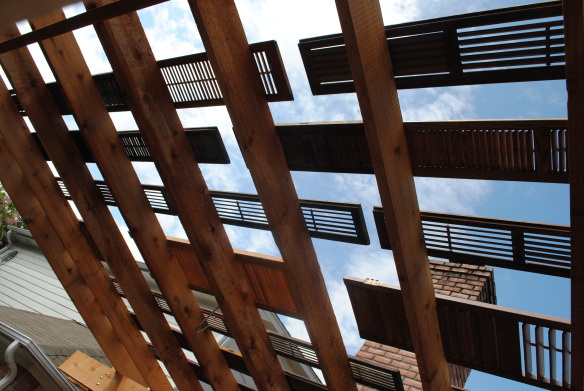
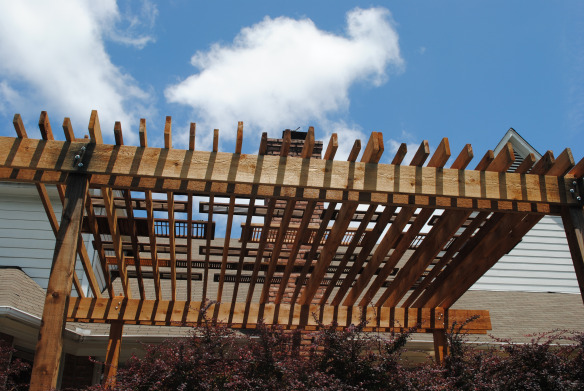
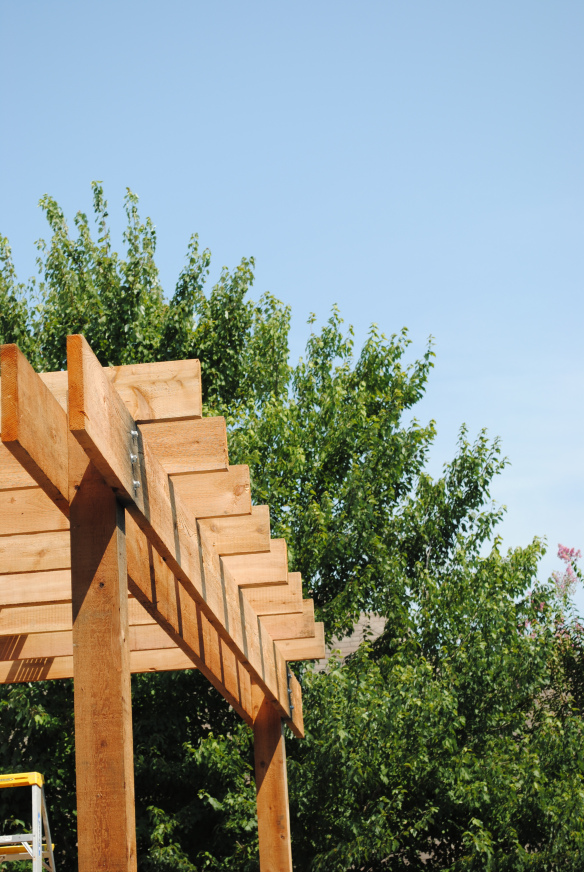
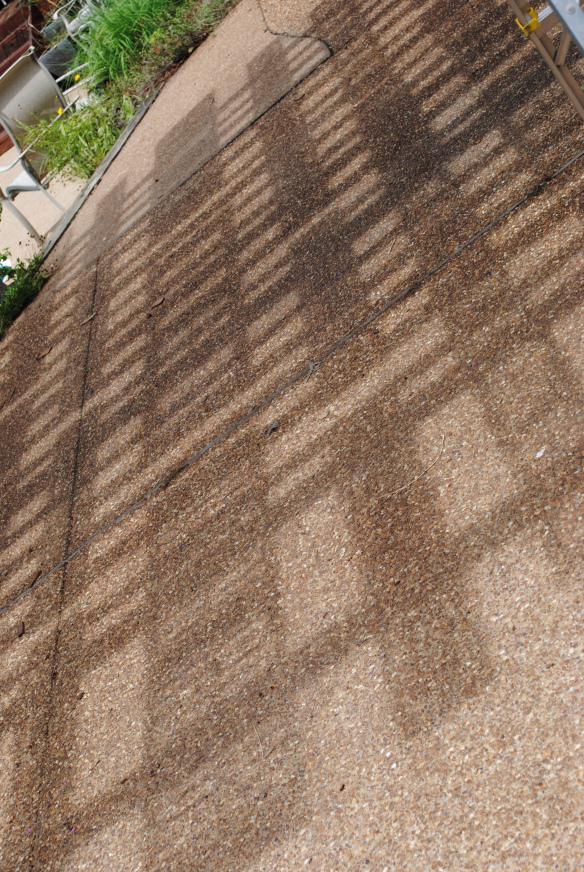
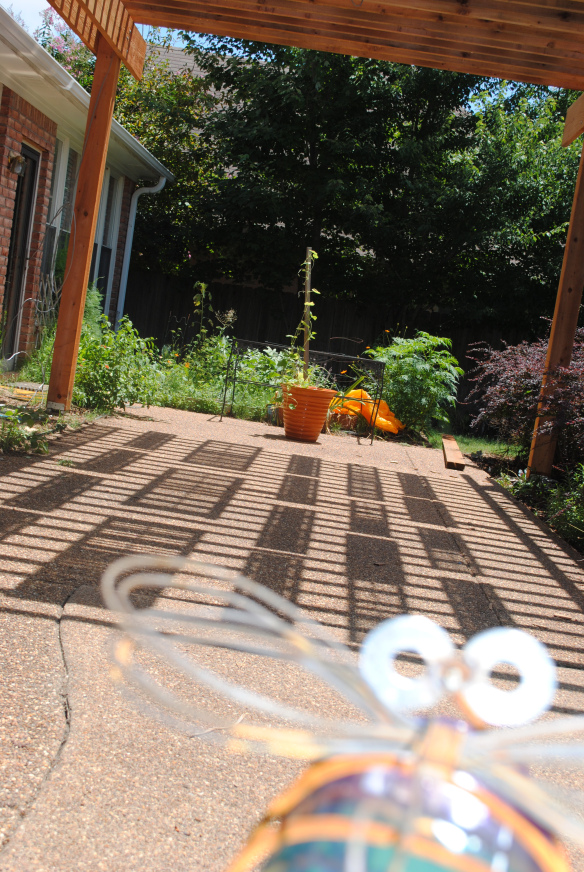
It didn’t take long before the whole thing started looking pretty cool.I love, love, love, the shade patterns! And I love the shapes of all the component parts!
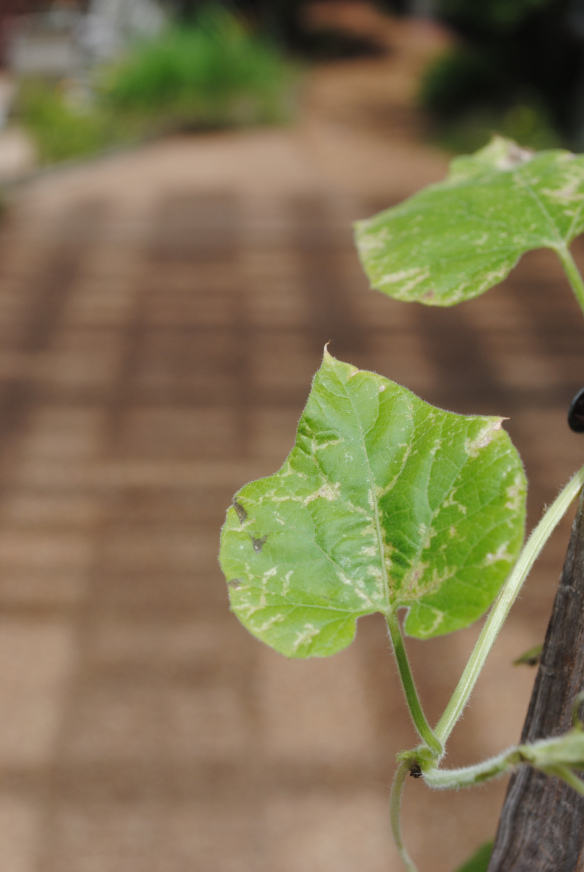
This little vine is supposed to grow on the pergola. But it doesn’t look too healthy here.
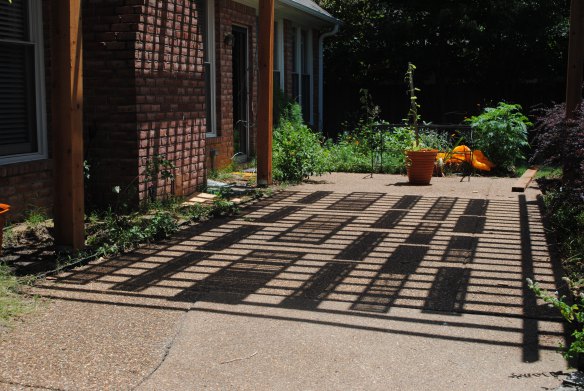
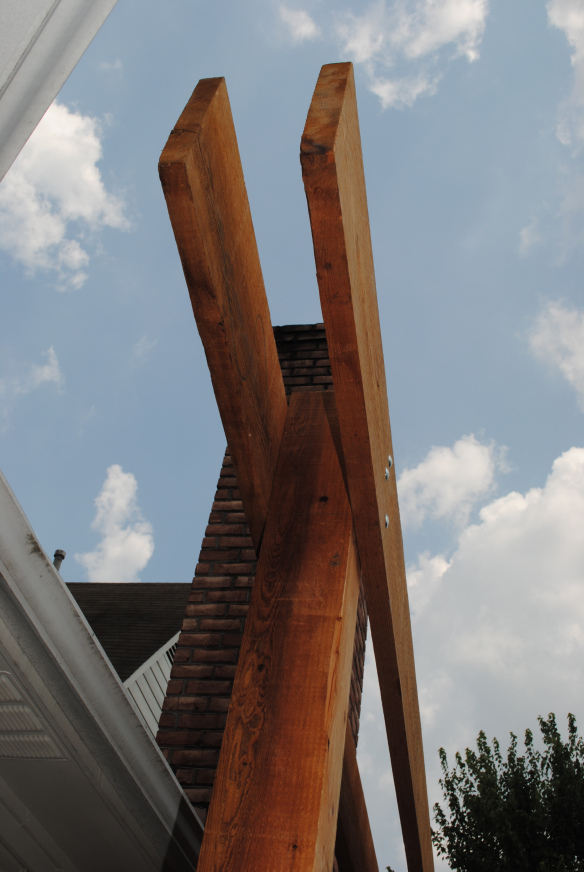
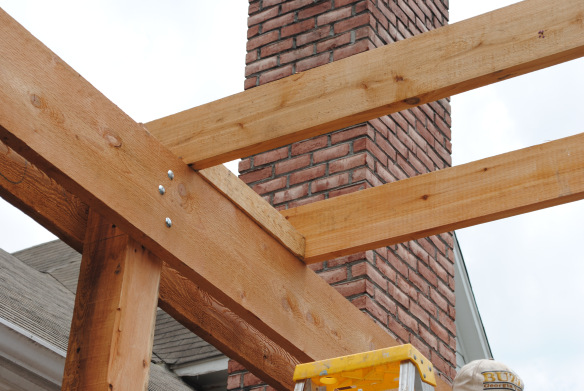
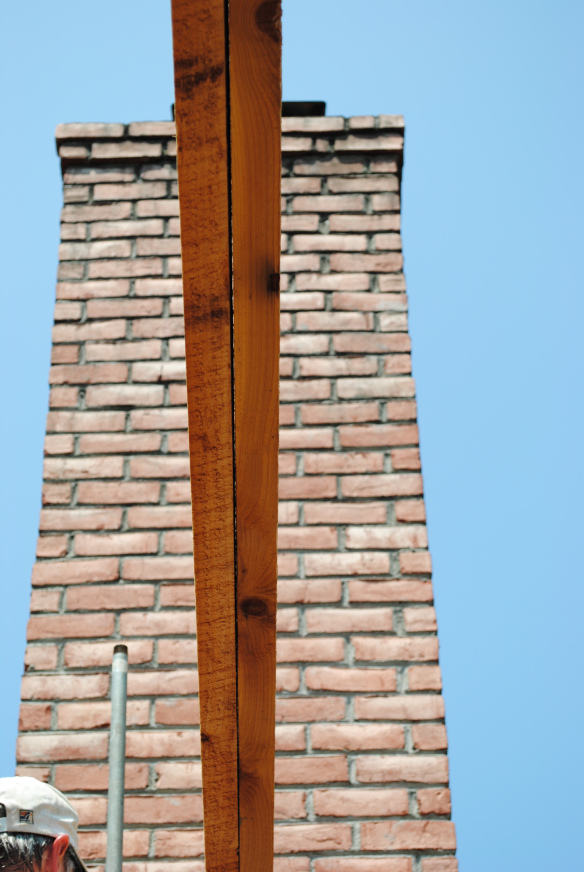
Look at the pattern on the chimney!
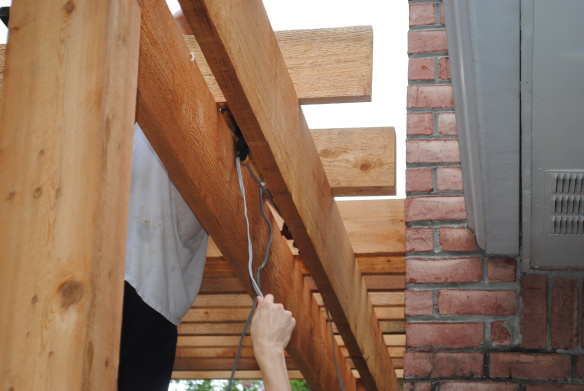
Here they are finishing up with the electrical wiring for the fan and an electrical outlet.
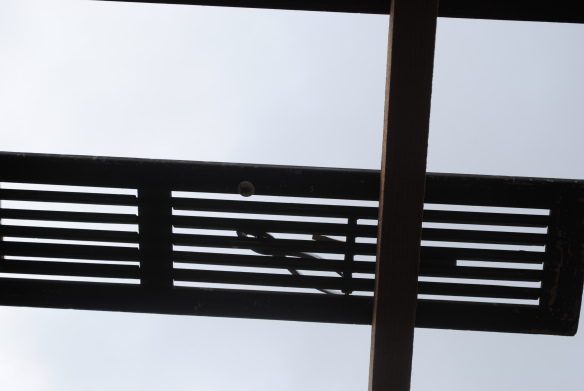
Is anyone missing any tools?

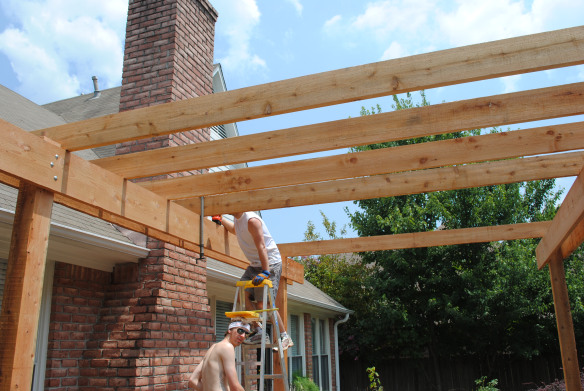
After the shutters were attached and duly admired, more joists were  added.
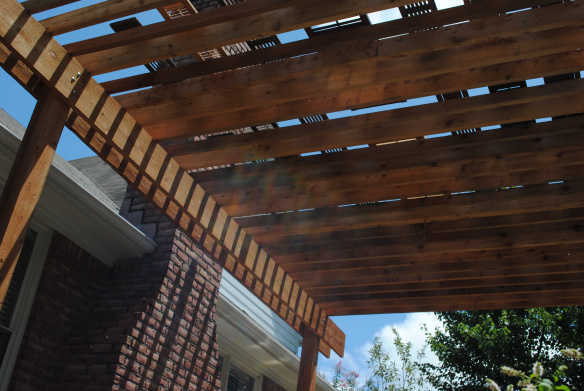
Two different sized joists were added between every large joist.
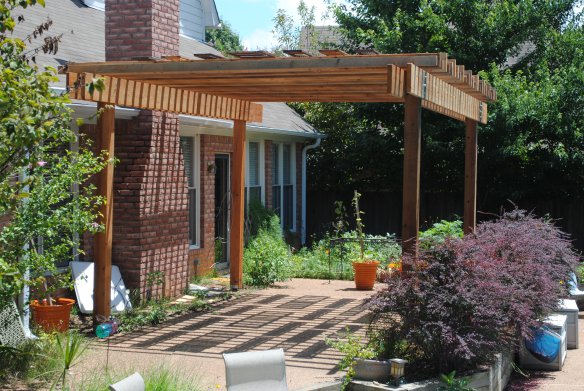
The joists were slightly different heights, and added to the overall shade patterns.And we’re finished! Actually we are short one board that we can’t  buy and put on until next weekend, but I’m going to call it finished. Except for the fan. And furniture. But we will leave that for another day.
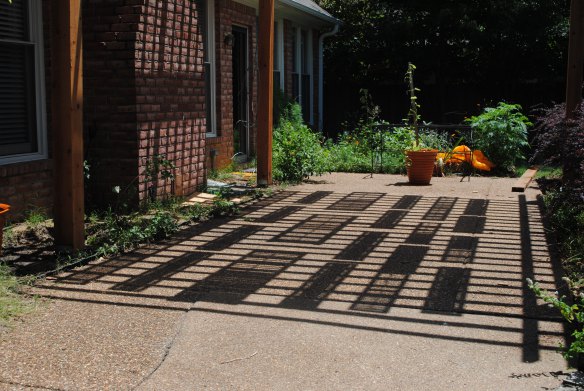
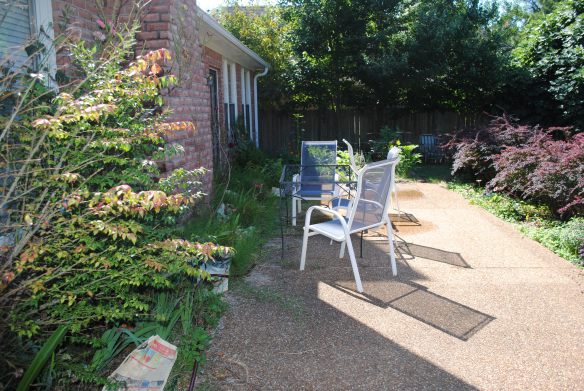
Before.

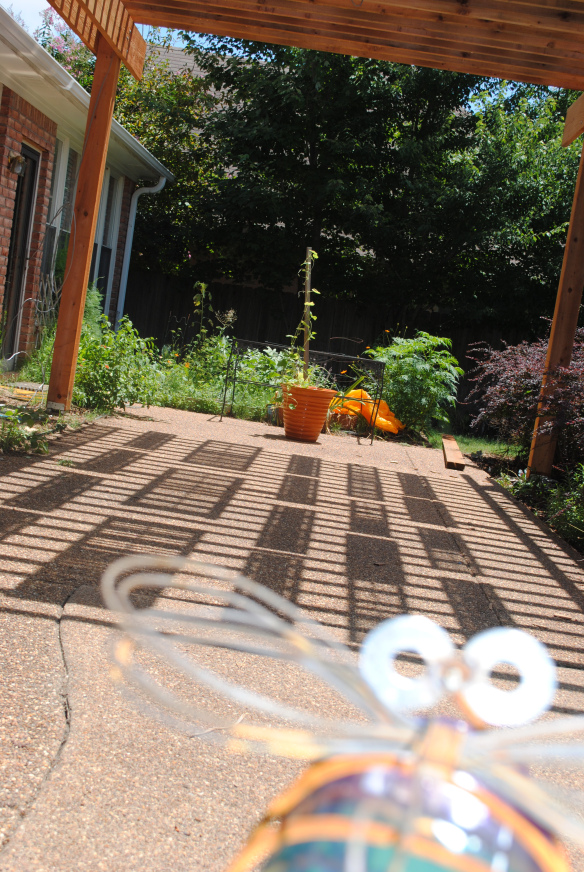
And after. Even this little critter is pleased! What wonderful fun this whole process has been! I haven’t decided what to put underneath the pergola yet in the way of furnishings, except for a rug and a fan. If anyone has any suggestions I’d love to hear them. Thanks for coming along on this journey with me!

Good, Hot, Dirty Fun

I’ve been so industrious lately, serving as general dogsbody and chronicler for  the Pergola Project that I’m going to interrupt that lengthy story to tell about some good, hot,  dirty fun I had and how I can’t wait to have it again.

Before you become convinced that  you have  somehow  mistakenly found your way to a tacky cougar blog, I’ll tell you that the fun was connected to shopping. No debauchery here.

When we were still in the planning stages of our pergola, the designer ( who happens to be our son ) prepared several drawings for us so that we could compare and contrast the various design elements. The poor guy had to come up with ideas that would please me, who never wants to have what anyone else has, and his Dad, who wanted something he would be capable of building. We eventually settled on  a simple but elegant  ( I think ) design which could be embellished by adding architectural elements, if I could find something suitable, in a suitable amount of time. IF I could find something suitable???  To paraphrase Sojourner Truth, “Ain’t I a magpie?”

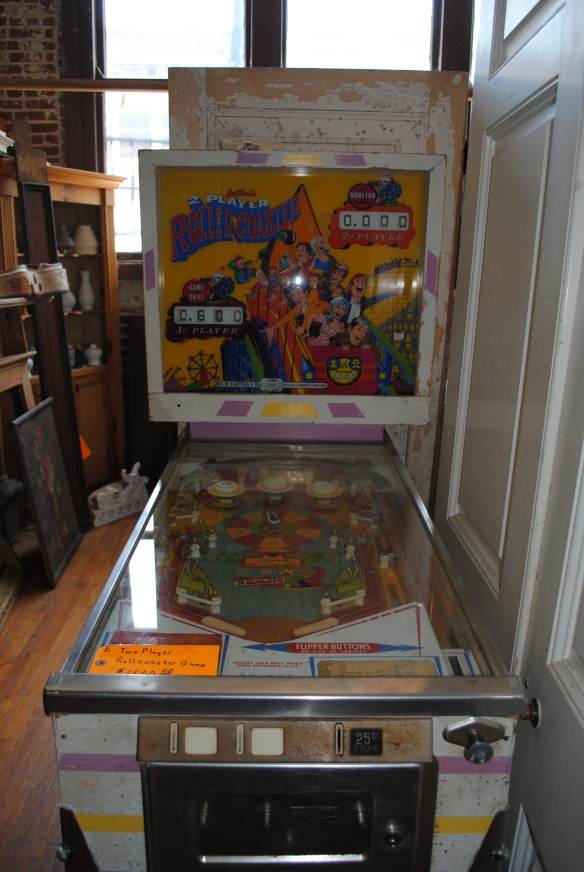
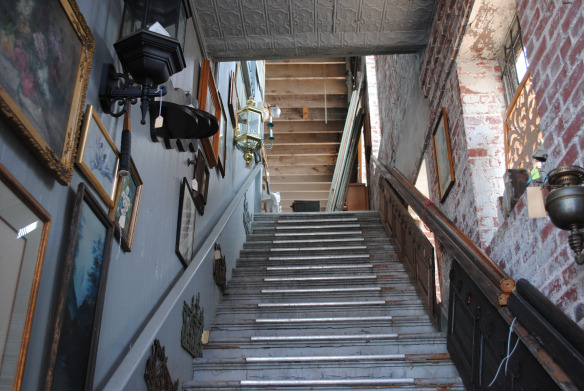
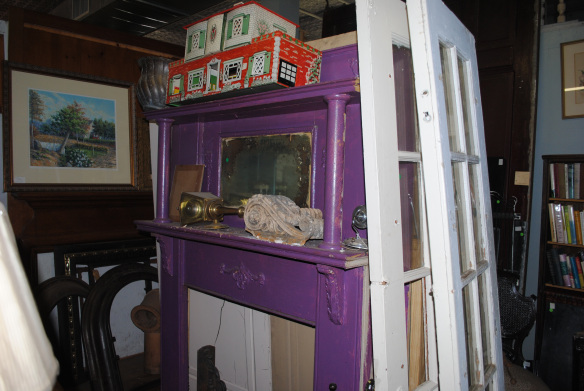
So the hunt was on, and the clock was ticking, Where could I go to do some thinking out of the box and have a reasonable chance of finding something that would work for me? I knew just the place: South Front Antiques. This jewel of an establishment contains three full floors of antiques  and salvaged materials arranged in a delightful hodgepodge. I’d been wanting to go anyway ever since the talented Amy Dale took our daughter’s engagement photos there last year. It was just another of things I’d never gotten around to, but now I had my chance. I took my first opportunity to pay the store a visit. Don’t even think the following pictures do justice to the place.

Feeling just like someone on a TV home decorating show, but without the decorator to make salient points, I wandered around  the store  in a  dopamine daze for a few minutes, unable to remember the purpose of my visit. Oh yes, items of architectural interest for my pergola to prevent the dreaded occurrence of having to settle for  a less original structure than I had desired.

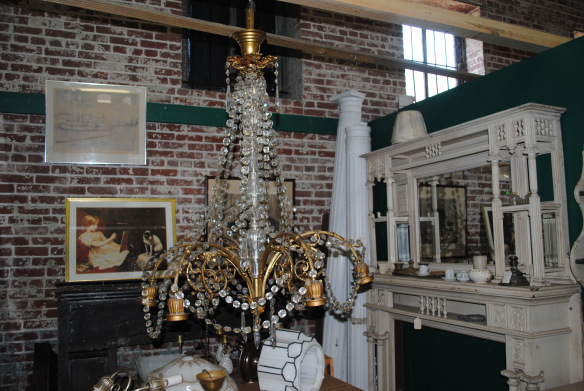
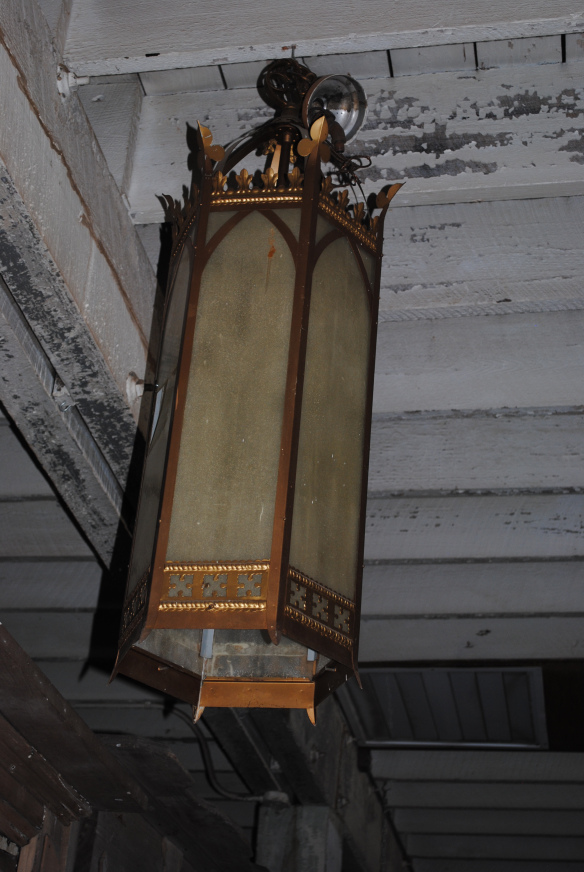
Loved the chandelier, but it was  too ornate for my project.

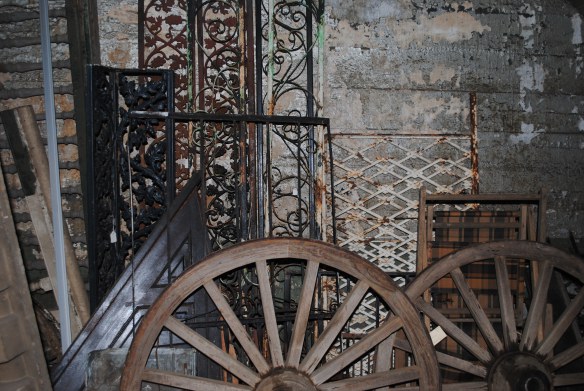
You probably don’t see too many wagon wheels on a pergola roof, but they were  too country for me. And those wrought iron things behind there? Were  they too heavy? Too short? Too few?

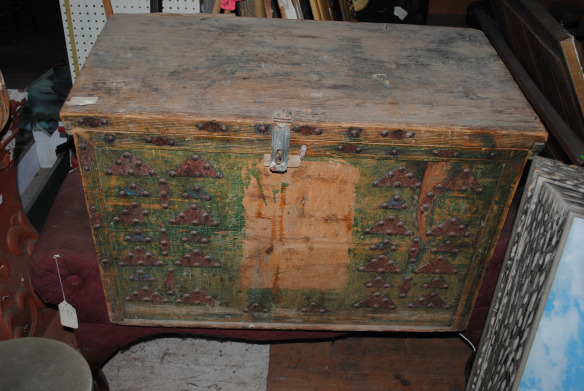
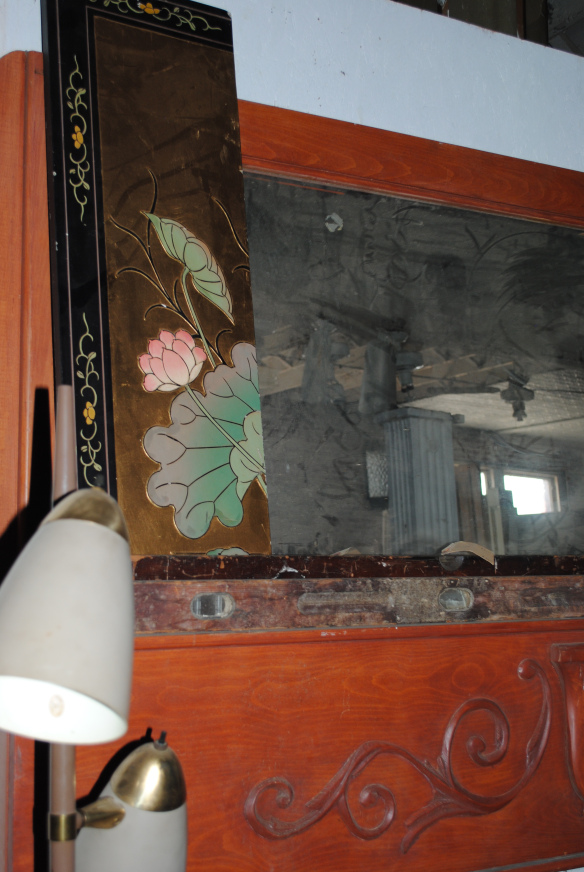
I couldn’t help but get a little distracted.

Or even a lot distracted.

I was only able to ignore the books by promising myself I will come back just to browse. And I will. I mean it.

After touring the basement which was full of doors and all the tin ceiling squares a person could want, and making a an initial round of the first floor it was time to go upstairs.

The fact that the upstairs was not air conditioned on this 100 degree day truly helped me stay focused. I resolved to become inspired quickly while still capable of respiration. 

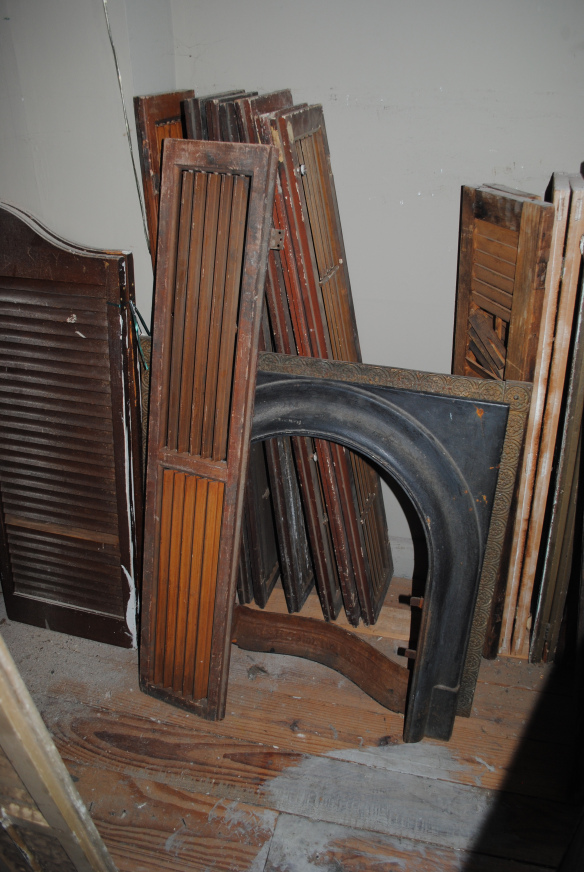
So how about lovely old weathered shutters? Some quick figuring and and a few interrogatory photo texts later, the idea was proposed, discussed, and accepted by all parties!  I couldn’t get them today, because I didn’t have a way to transport them, but my design plan was set. Yippee!
With that burning issue settled, I gave myself license to browse around just a wee minute more, downstairs where we had more chances of survival, what with the air conditioning and all.

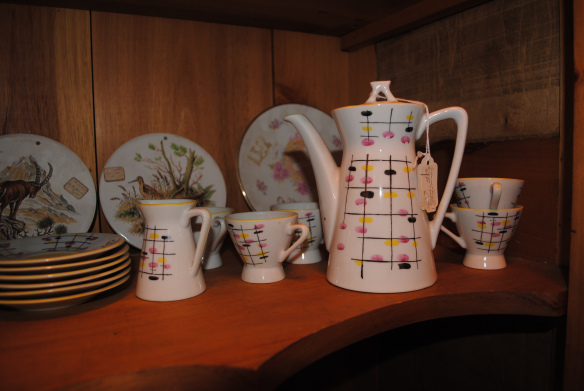
There must be some place I could use this, I mused.

And I was going to pass up these cuties? Really? Yes. I had to stay on task.

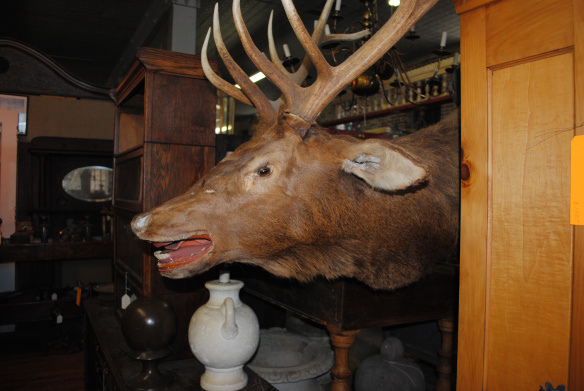
A moose in a china shop? 

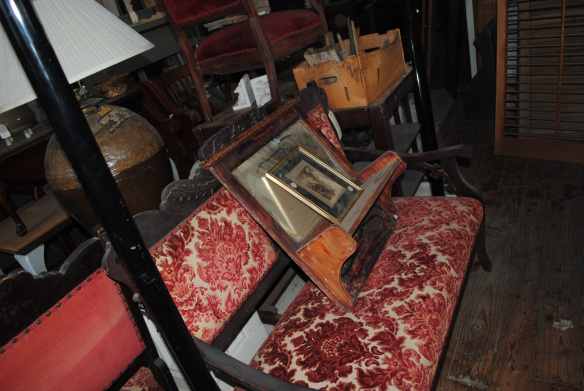
Aaah, a place to sit down! But it was time for lunch, so I had to  leave with the surface of the store barely scratched. I hadn’t been able to look at the maps, or the stamps, or the toys or the books or the boxes of crystal doorknobs this time.  But  right now I needed to get myself someplace where I  could wash my hands and face and drink some ice cold water. I’d had some good fun alright, but not without getting  plenty hot and dirty.
Pergola III

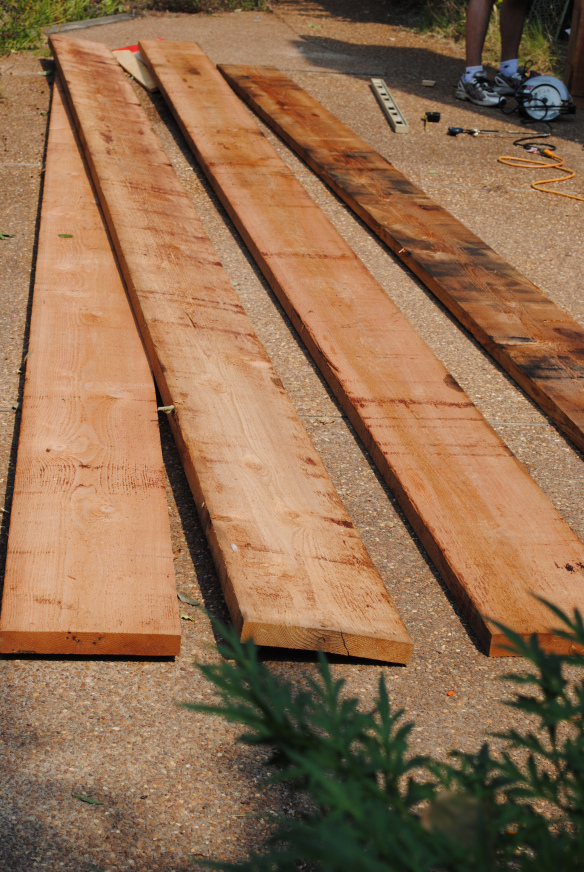
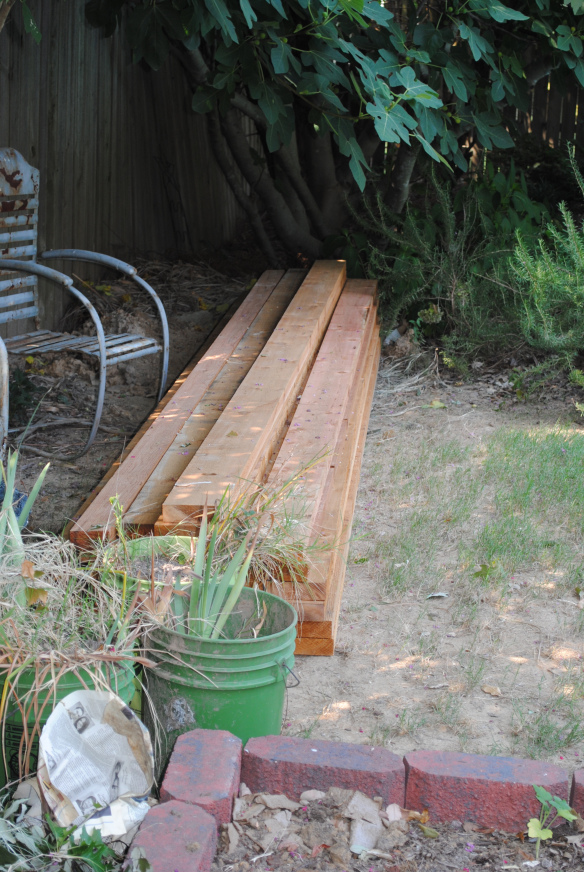
It’s time for a pergola update! In my last installment I left you with the concrete poured for the posts. Today we pick up with construction. First I ordered all this lumber.

There was more lumber, but you get the picture. All was in readiness for the pergola designer and his lovely wife to fly in  for the weekend, he to help build the pergola, she, to lounge by the pool. Bright and early in the steamy Saturday air the construction began.

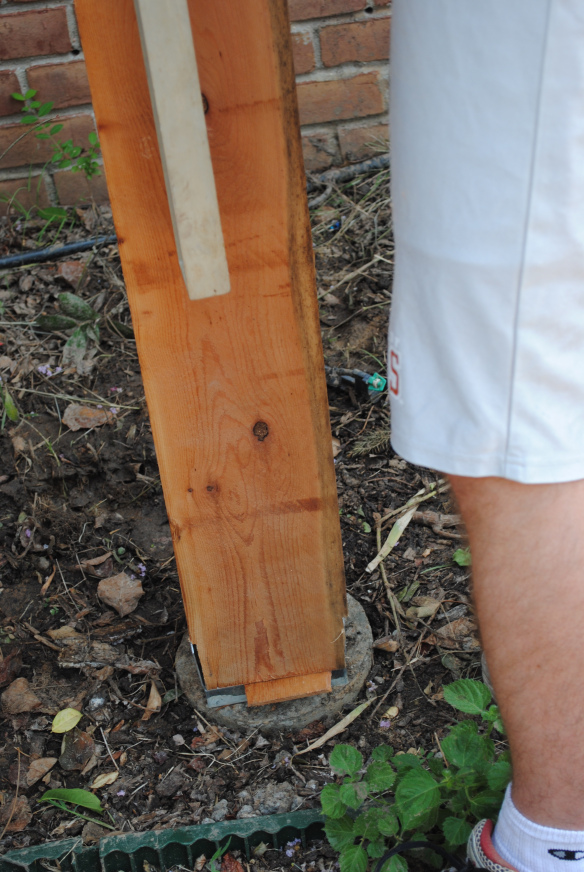
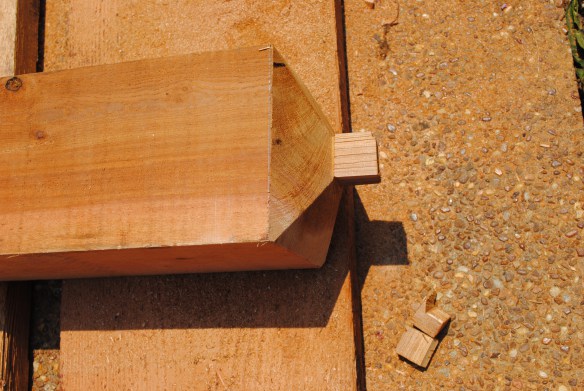
Initially some time was devoted to measuring and mulling. It seems that the posts were a bit  wide for the brackets to which they would be attached, so some shaving of the posts had to be done. Then they decided to carve a more decorative top to the posts.

Now they were ready to attach the beams to the posts. This process involved big silver bolts. 

During this time a third minion had arrived to help. The three of them attempted to lift the post and beams.

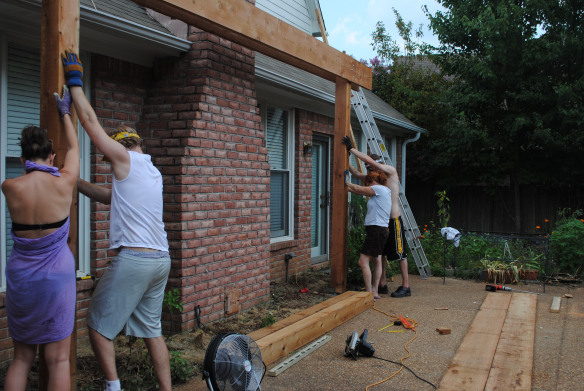
But it took a little more muscle to lift the structure past the 45 degree point. I wouldn’t even want to guess how heavy this was.

Luckily your author and the designer’s wife were on hand to lend some brawn to the effort. We all held our part of the post until it was attached to the brackets.

And it’s up!

See how pretty?

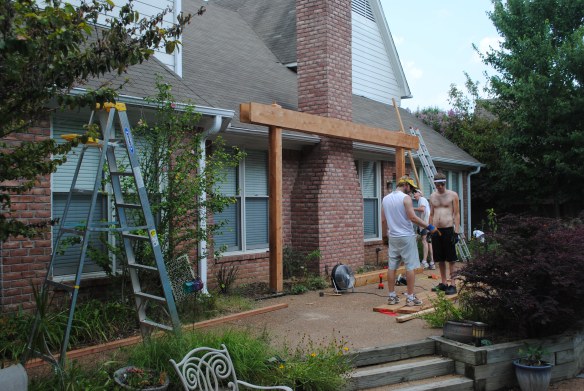
And on to the next side! These sweet guys worked all day in the 100 degree heat. I surely raised some good sons.Meanwhile, the designer’s darling wife worked on her tan.I provided fresh pitchers of ice water, took photos and made cold salads for my workers. Workers must be fed. It has ever been so.In the evening they had all the ribs they wanted. But I didn’t take any pictures of that.

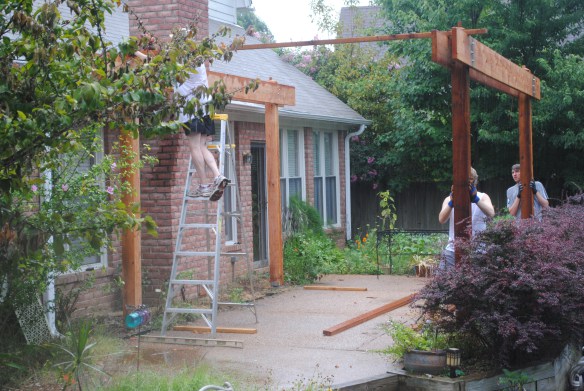
And here we are the second day raising the second side in the rain. 

As the sun popped back out the first temporary joist was installed.

Here is the first real joist.

And more joists.

This joist was  thicker because it will hold a fan.

All the main joists were now  attached. We could  already see that when finished the pergola would provide some lovely shade patterns. Why is the designer putting shutters on top of the structure? You’ll just have to wait for the next post to find out!

Here is a nice side view.

And another nice side view?

Here are two thirds of the work crew at the end of the day. It’s so much fun going back and looking at this process.  Our  family’s times together are too short, but so filled with joy and laughter. The beams and the joists were properly placed, but the real prize was how we as a family all fell into place, helping, loving, appreciating. That’s the best design of all.

Kite Grabbing

Have you ever found that intending to do one household task quickly leads you to another, and another, until suddenly it’s two weeks later and you’re still in those same gym clothes?  And you feel as though you have been hanging on to the end of a kite tail whipping in the wind? Well, good. Because I don’t want to be the only one.

Here’s how it started for me this time. You recall  that we are in the process of building a pergola? Fine. In the last two weeks there has been lots of activity directed toward that goal. In the aftermath of all this hubbub, which included eight house guests, I simply wanted, in some sort of misguided attempt to feel in control of my environment,  to pick up some of the unripe figs which drop from the tree  onto our pool deck each year. “Luckily,” I said to myself as I approached the pool deck, “you have a couple of weeks to recover before the “Fig Season” is upon you”, But no, what I found on the tree were definite signs of quickly ripening figs. Millions of quickly ripening figs. If this were a movie I would pan over my horrified face while playing some “Psycho”- like music.

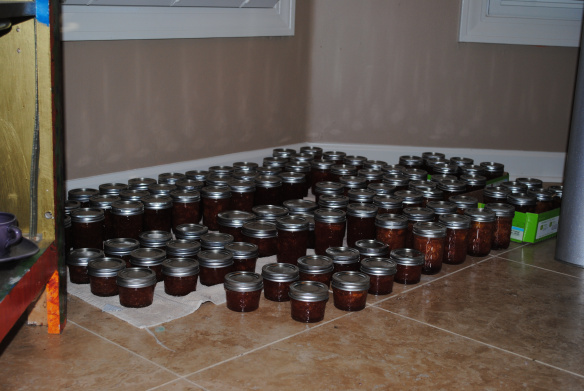
I  truly love my fig tree and all the delicious goodies I make from its bounty. But in the last three years the harvest has been so generous  that this little City Farmer has had to go into overdrive to handle the massive amounts of fruit. There will be more on this topic  later, but for background I’ll just say that a few years ago the few figs I had made a nice appetizer or pizza topping or two, but by last year I made over 150 jars of fig preserves and only stopped because my brain refused to give my hands any more orders. Or maybe the orders were sent but the hands refused.

Last year’s fig preserves

Anyway, I knew I needed to inventory what preserve making supplies I had from last year. But that would mean going into my pantry, where I had shoved my remaining  2011 jars of preserves plus empty jars and  unused bags of sugar. As hints to my recent house guests had not inspired those people  to do it for me,   I resolved that I would have to clean out the pantry myself prior to the inventory if I did not want to cause an unwelcome avalanche of cans and jars raining down on my head. For yes, the pantry had gotten completely out of control.

But a certain discovery earlier this week booted the pantry cleaning right to the top of the list. This was when I heard my husband shout from inside the pantry. “We’ve got BOTULISM!” I came over to investigate, because he tends to get upset about these things. There he stood with a corroded and/or exploded can of ten year old jackfruit in his hand, no doubt with his mind reeling with all the grisly possibilities of WHAT ELSE could be found within those unsavory recesses of the pantry.  “Not to worry,” I consoled him as I disposed of the offending can. “On Friday I will clean out the pantry.” And just like that I was committed to a horrible task that I only perform once every ten years or whenever I move, whichever comes first.

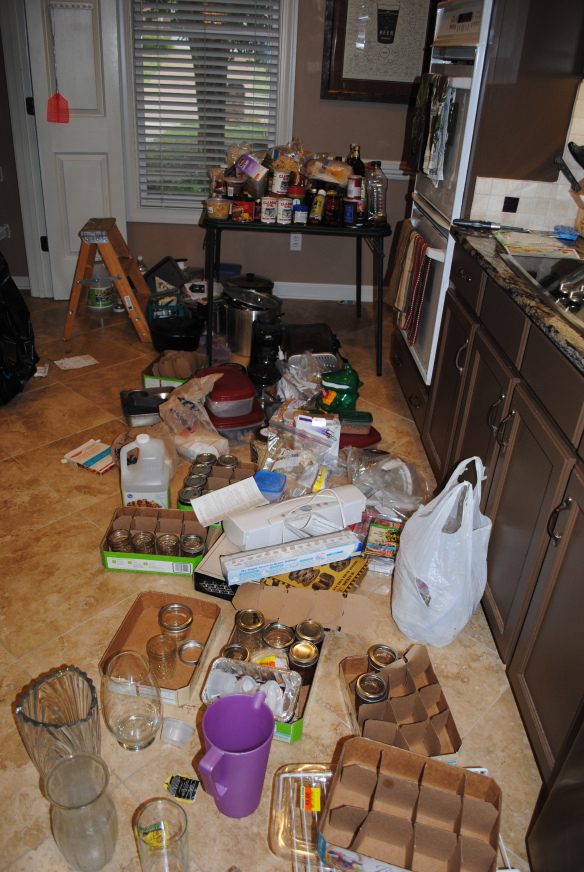
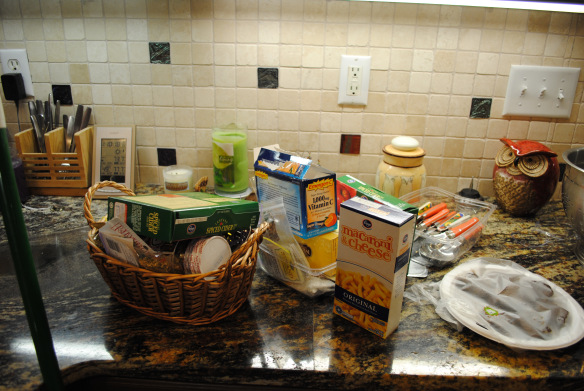
I somehow forgot to take a before shot of the pantry, so you’ll just have to trust me, but here are some shots of what was emptied.

Feel sorry for me yet?

How about now?

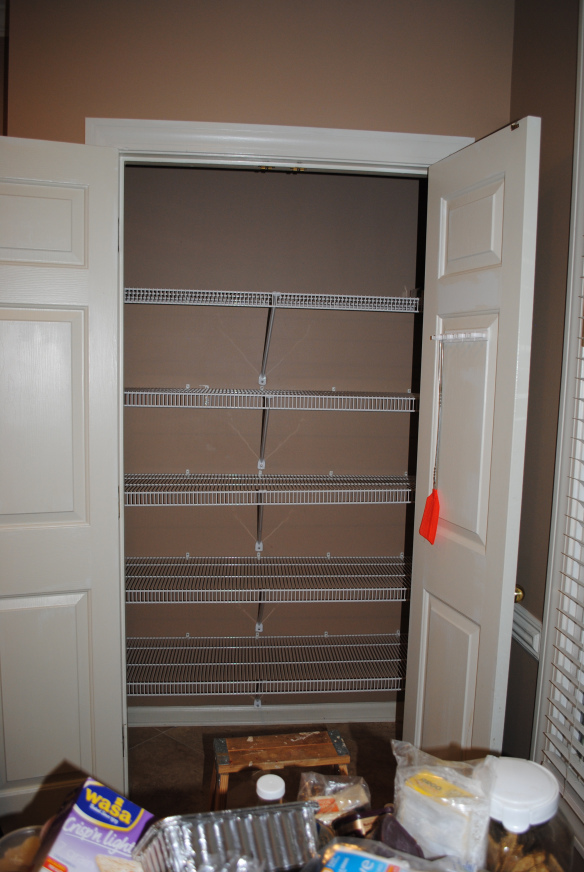
Here is the empty pantry.In the end it wasn’t as awful as I had feared.  I can honestly report that here were no more exploded cans. But I did throw some away preemptively.

Like this one.

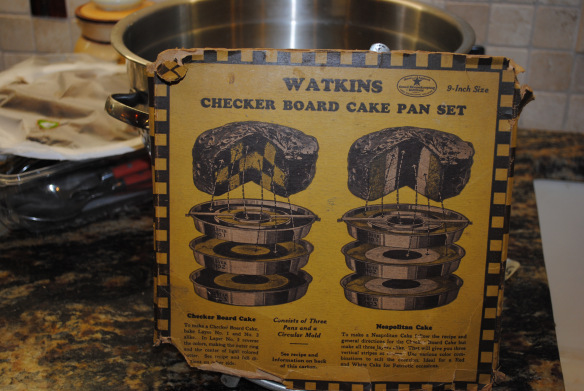
It is somewhat reassuring to know that with four cans of baking powder, I need not fear running  out of the vital ingredient  in the middle of an important baking session.  And it is gratifying that for the first time in my life, the snack foods are completely unprotected from the grubby hands of children and teenagers, which means that I too, if I have a mind to, will be able to reach the pretzels on the bottom shelf instead of leaping several times into the air toward the top shelf  like a trained poodle grasping for a treat.   And look at these cute estate sale finds I had shoved in among the bags of sugar and cans of soup.

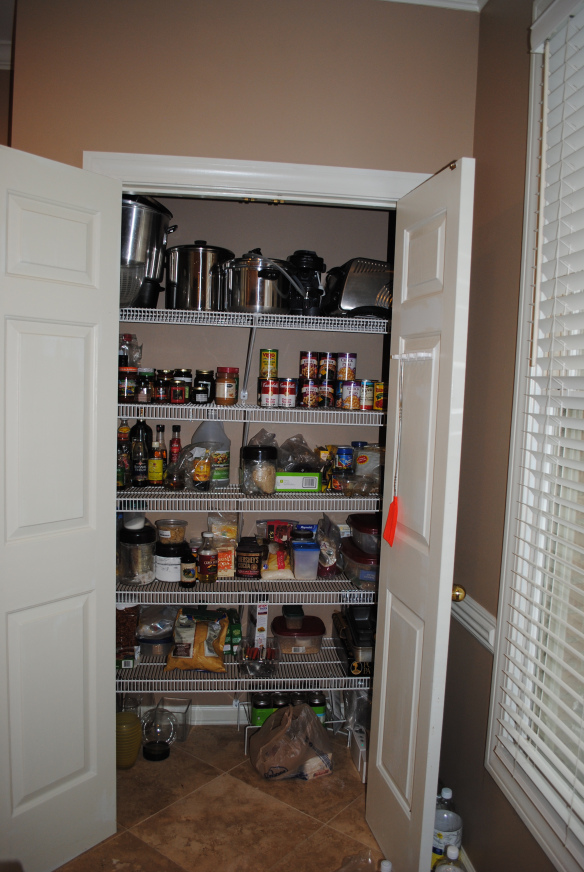
Here is the finished pantry.

NOW I can inventory my existing canning supplies, so I know what to buy, so I can wash all the jars and have them ready for when I bring in loads of figs twice a day, so I can wash and prepare them for canning. Whew! And for your information, I am still in my gym clothes. Some days are just like that.

Project Pergola II

Disclaimer # !:  My last post, Project Pergola, did not show you an actual pergola.  It was more about documenting the abject need for such a structure, and how I, not the actual pergola builders, was involving myself in the process by gutting the adjacent eyesore of a flower bed.

Of course I was not intentionally misleading you; it’s just that stories have many chapters which build upon one another. Endings are more rich and resonate more fully when the reader has an appreciation for all that went before. And we all know that it is the process, not the content, that informs our hearts and relationships.You’ll thank me one day.

Today however, i will show you some actual prep for an actual pergola. This leads me to disclaimer # 2: We won’t be able to consider this a tutorial, because I did not do the actual work. I can show you the pictures, and tell you what I think was happening. And hopefully you will feel part of the process. Here goes!

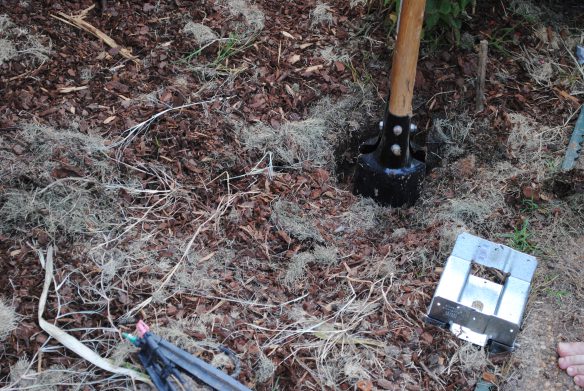
Here is where we left off. The first prep step after agreeing on a design created by our generous and talented son, was to dig holes for the posts, like so.

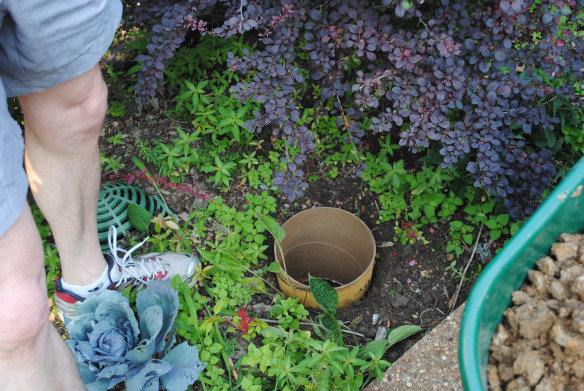
The bracket you see will eventually hold one of the four posts. Next, a round cardboard collar was inserted into the holes to hold the concrete.

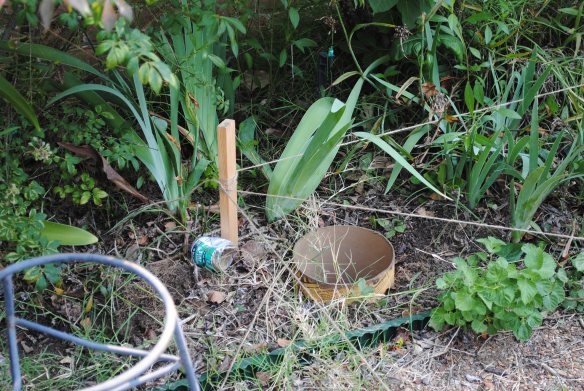
After all four holes were dug, there seemed to be some measuring activity going on. I believe it had to do with whether all the four cardboard collars were level with one another. Stringing twine up across the patio also made crossing from one end to the other  a more adventurous  experience for all.

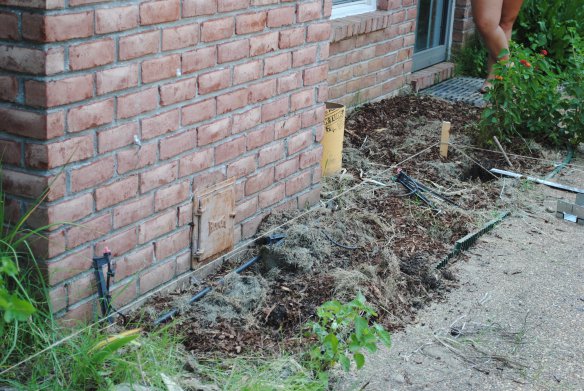
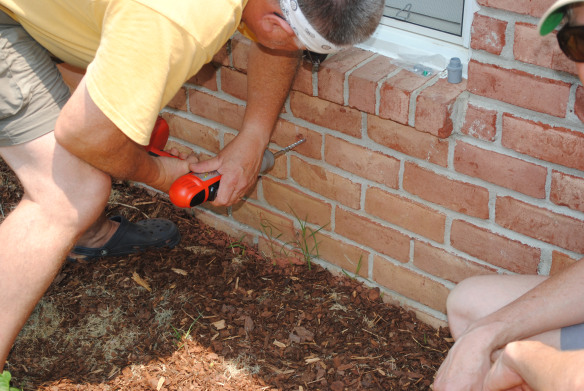
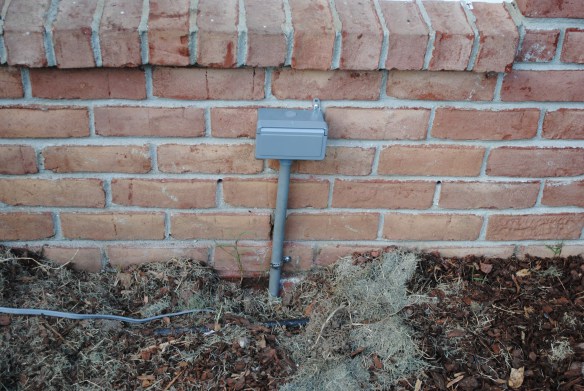
The next step was connecting access to electricity. Having an electrician  brother in law on the scene is highly recommended.

Now we will be able to have lighting and a fan in the pergola.

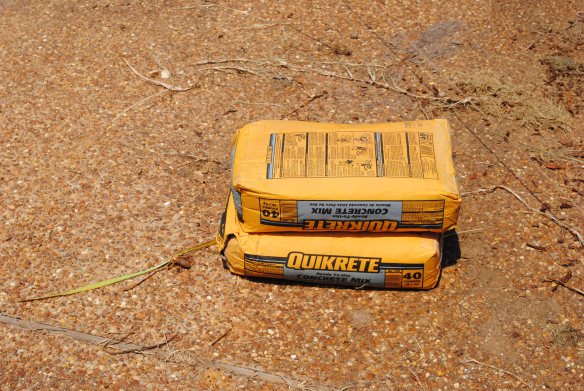
Uh oh. Mixing cement takes awhile. I guess I’ll find other photographic subjects for the time being.

When my pergola is finished I’ll be as happy as this verbena!

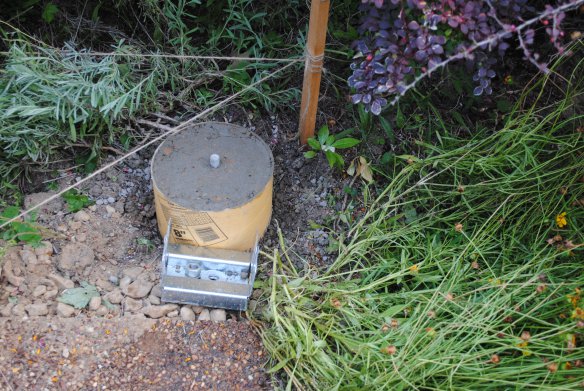
Here you see one of the four holes filled in with cement and a bolt to which the bracket will be attached. 

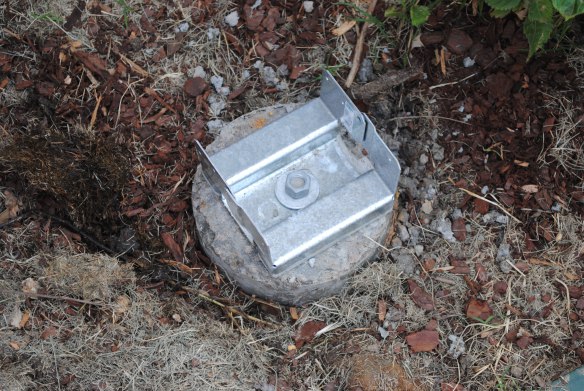
And finally here is one of the same cemented holes, with the bracket attached. Now all we have to do is actually BUILD the pergola!!! But not today; the cement has to set more and we don’t have the lumber yet. Have I mentioned that I am so impatient to have this pergola  built that I would like to rip my clothes and gnash my teeth? Well, that won’t get me anywhere. I’ll just take a few  more photographic subjects while I wait ! 

Thanks for stopping by!

Project Pergola

I think it is safe to say this out loud now, so here goes… Two of the worst eyesores in my my yard are about to be eliminated! Yee Hah! To provide some useful background, we moved into this house with the definite plan to put in a pool. This project necessitated the cutting down of the few scraggly trees that were already in the yard. For some time afterward we had to live with a stark, shadeless back yard until the new plantings matured. We really focused on the beds around the pool and on growing some privacy around the perimeter of the yard.

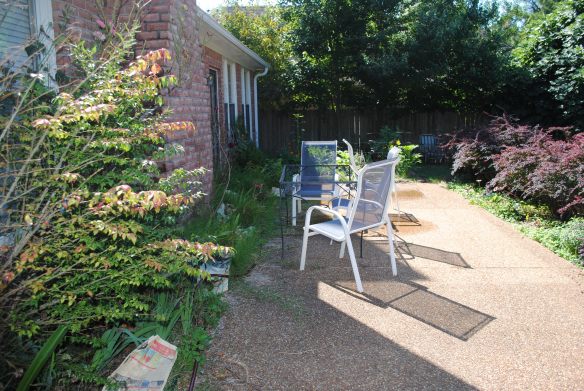
In the process the poor pitiful patio next to the house was neglected. In fact, we even cut part of it off in order to make room for a retaining wall for the pool which is at a lower level than the patio. As a further insult, a few years later we built a wooden deck under some trees we had put in after the pool construction. As time went on, the little patio sat unused, baking in the afternoon sun. Here it is, anchored by a topless wrought iron table ( The glass shattered during a storm.) and some surplus lawn chairs.

This picture was taken in he morning, so you don’t get the full sense of how relentlessly the sun bears down and heats up the area until I’m pretty sure I could bake a pizza on the surface. My sister has in fact. spread wet towels and bathing suits directly on it and found it to be a most efficient dryer. Could I be the only person who anthropomorphizes a patio? I actually avoid looking at it because it seems to be in such pain. “Shade me!” it begs.

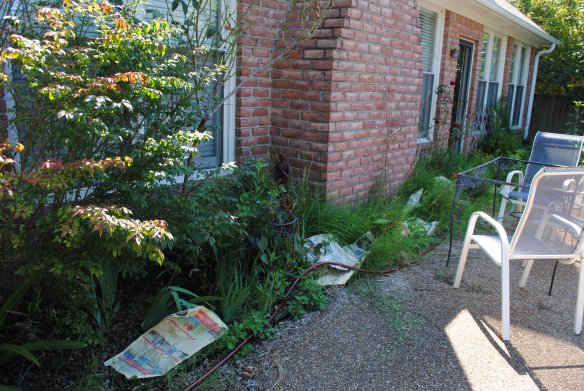
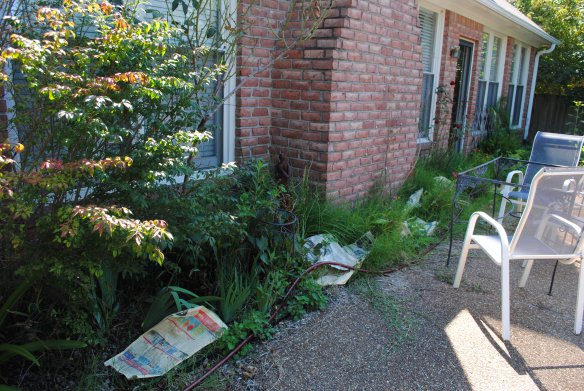
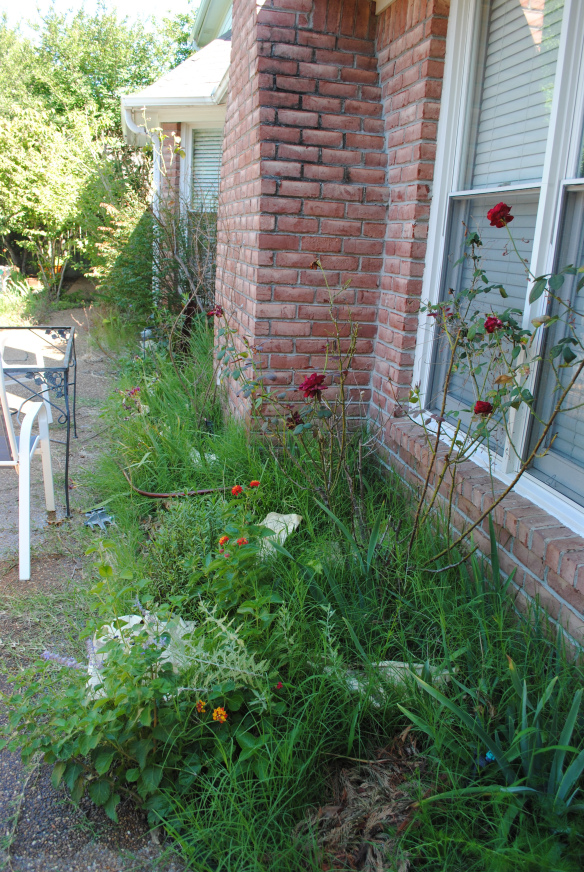
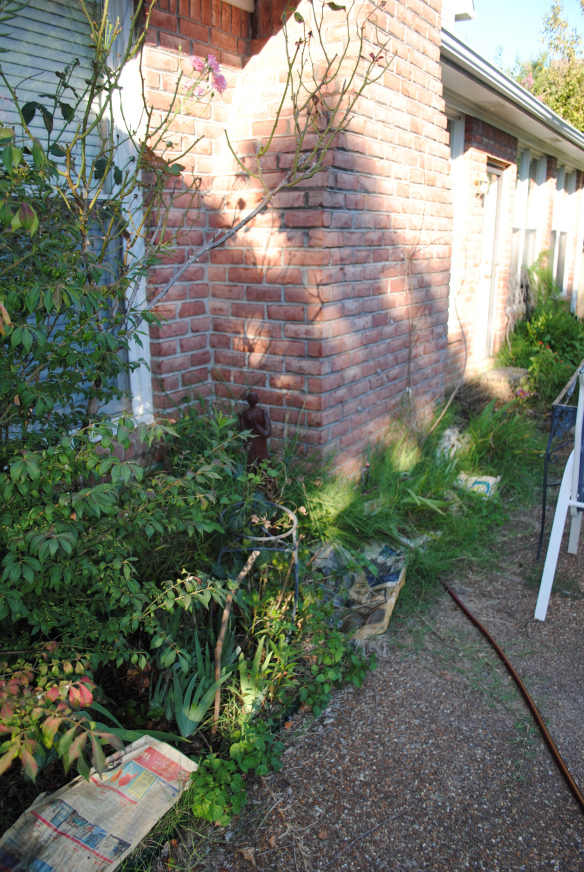
And now  the second eyesore of the yard: the overgrown beds next to the house. When we moved into the house, the beds were full of grass, along with some plants which at that time I was loath to sacrifice. For that reason in addition to the sheer unsavoriness of the task, I have avoided completely gutting the entire bed. Just look at this travesty. I put the newspapers there to see if they would kill the marauding grass.

The combination of the patio and the overgrown beds is just too much to take. Every year we say how awful it is, and how unbearable, and then other more urgent projects are taken care of, until it is just too late to do much about it this year. Then we assure ourselves we’ll tackle next year. Ah yes, next year.

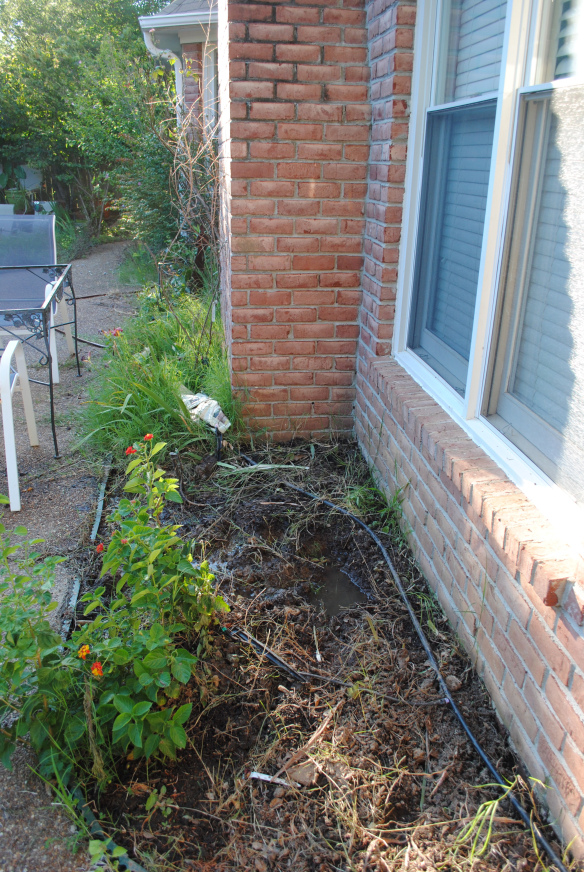
But guess what? Next year has arrived! In the next week  we will be putting in a pergola to make the patio area usable again, and gutting the flower bed. In fact we have already begun. Since you have seen the ugly flower bed shots, here are a few of my progress in that arena.

This is one end of the bed after I wet down the dirt and pulled out everything except that lantana, which I am saving to give to my sister. I gave away the rosebush to another gardening friend. I am trying to save some iris, red hot poker and daylillies. I don’t know if they’ll make it.

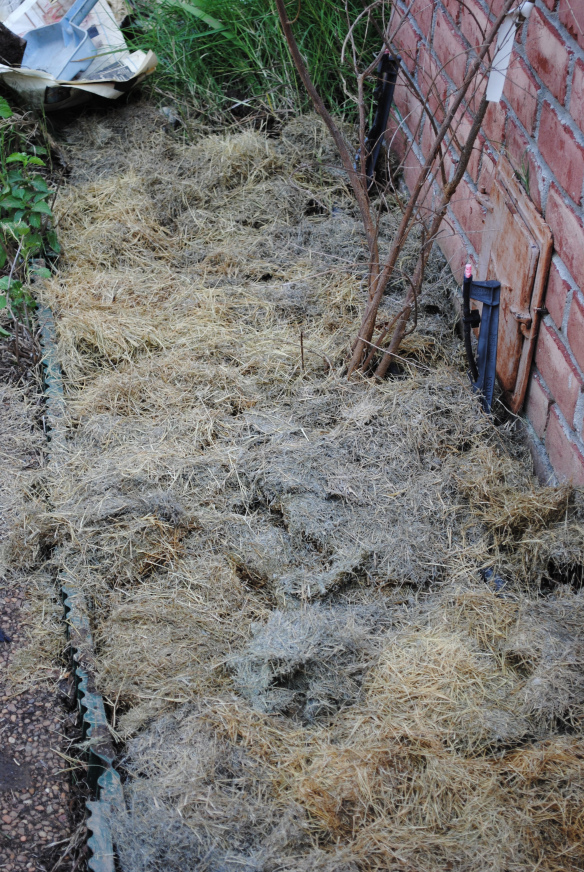
After digging up everything in the bed, I covered it all with a thick layer of mown grass. 

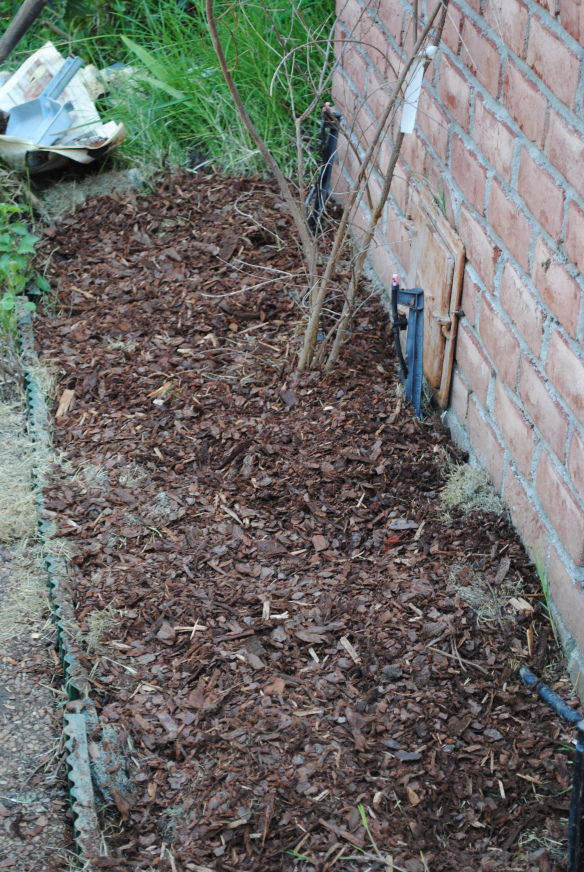
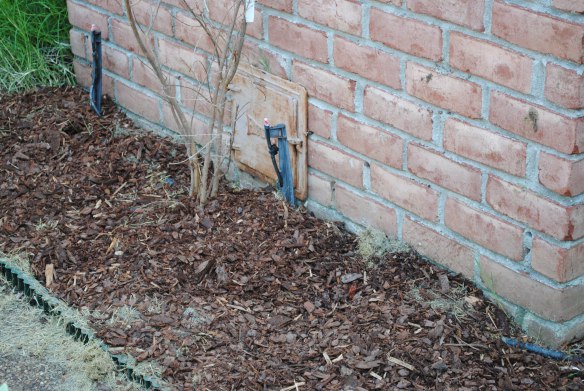
Then I covered the grass with a layer of pine bark mulch. I’ve got some more bed space still to be done but the change is underway. In a few more days I should have the rest of the bed cleaned out, and ready for whatever new garden plans should suggest themselves once the pergola is complete. And the pergola is coming, with its benevolent shade. Hang on, little patio; help is on its way.